I recently won a wonderful prize from a challenge at Scrapbooks N Stickers......a Bind it All and lots of goodies to go with it! Thanks Kim! Do check it out http://www.scrapbooksnstickers.typepad.com/


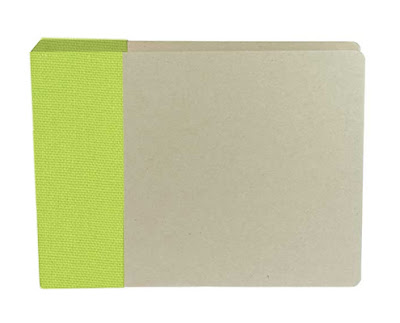 So y'all know I am in LOVE with Basic Grey's Color Me Silly line, and I have used it to alter most organizational items for my scrap space. So here is what it looks like now.......

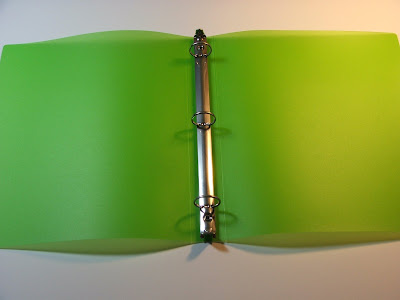
Here is what the inside is like and the dividers for each section (on the left are pictures that inspire me) I have the sections broken down as follows:
1. Printouts - this is for ideas that I find on the net and print out. Some times I just save things to the computer but I also like being able to access some of them while I am not on the puter (which is rare! lol!)
2. Templates - Some times I make my own templates like large flowers, or circles and to aviod making them again I save them in page protectors here. I usually make them from a light weight chipboard so that they will last.
3. Sketches - Some times I print out sketches for fast reference and keep them here. I also am in the process of altering a rol-o-dex to save sketches in also. I have a nicely bound sketch book that my friend Renee made for me as well. (guess I have them all over! lol!)
4, Poems and Quotes - In this section there are also page titles and other "words" that I may see on a layout while browsing a gallery, blog or really anywhere, that I might want to use on future projects.
5. Miscellaneous - All the odds and ends that I don't know what to do with like copies of on line orders, upcoming events, etc. Thanks for looking and I hope that I have inspired you to pay some attention to your own idea binder!


And just look at all the color choice there are! (I am on the lookout for more!)

So what I am suggesting you do is cut the covers off the notebooks and save all the parts. The covers are what I will be using to give you ideas. However, the metal binder rings can be used for other things as well. What you ask? Well you can nail them on a piece of wood and hang items from the loops like ribbon or packaged embellishments, or you can use them to make a chipboard album by attaching them to the chipboard with brads through the holes on each end.....(let me know what else you think of!!)

We can use our die cut machines to cut out shapes and letters! For those who have a Cricut, when the new 2" blades come out, we should be able to cut this material! yippee! Oh and just think of these die cuts in the ever popular acrylic albums! (I bet they would look awesome!)

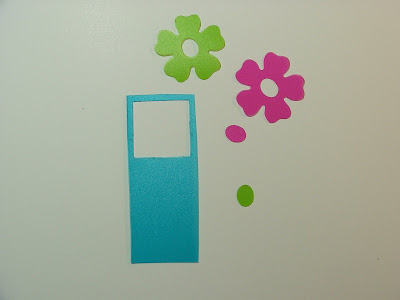
Don't throw away the part you are left with after you cut the die out. It can be used as a template. You can also ink or paint inside the cut out. Maybe use glue and glitter!

Then you can use scissors to cut just around the outside edge of the flower for a whole different die cut look!

You can use pieces as elements for "windows" in your cards or scrapbook pages!

And last idea I have for you is you can use it to make covers for mini albums. You can even make pages to mix in with pages of an acrylic album!
So run out and get the notebooks cheap while you can!!! Enjoy!

 I am so excited!!! I won Martha Stewarts Be Inspired Peoples Choice Award and will be getting a $500.00 gift card for this project I submitted!!! Thanks for sharing my excitement with me!


 Hi! This is where I keep all my scrapbook tools that I use often while I am scrapping. It was a bare wood box that I purchased at IKEA. I painted it green and used a Making Memory foam stamp with lime green paint to make the swirls (they match a design on my favorite Basic Grey paper "COLOR ME SILLY"). I adhered the paper to the front of the drawers and embellished with flowers cut from Color me Silly and card stock, Prima flowers and die cuts. If you noticed, I put the drawer that belonged in the opening at the bottom on top of the unit to make additional storage (just be sure to decorate the sides of the drawer to make it more eye appealing). Hope this inspires you to alter something for your scrap space!


